
Capturing Ocean Wave Wall Art With Lukas Griffin

Over the years, creating ocean wave wall art has become a huge passion of mine. Waves are fascinating, as every single motion is unique. Waves provide an endless subject, perfect for photographers like myself who stand in awe of nature. Whenever I’m near the water, I just feel the urge to shoot what I can see. Such a surrounding is worthy of capture, wouldn’t you agree?
I think that there is something truly special in the vast energy of the ocean. The differing shapes of the waves hold so much beauty and the water can offer many unique possibilities from a photography standpoint. When I’m shooting the waves, my goal is to be able to pass on the energy which I can feel in that very moment. I want the viewers of my artwork to feel what I could feel when the photo was taken.
As hues of light bounce off of the water’s surface throughout a typical day, the waves present themselves with dancing reflections and shadows. These forms can only be translated successfully within a skilled piece of ocean wave art, but the changes of presentation take place in one split second. Just as the water loses its gravity, raw power is delivered.
Searching for breathtaking moments of the ocean’s water has become an addiction for me. It’s amazing to get out there and discover new possibilities, and it is these possibilities which I aim to capture on camera. Check out the ‘Water Collection’ for further examples of ocean wave art.

Click here to view the artwork featured above: Water Walk - Ventura, California.
Ocean Wave Art Equipment List - Before you can begin to shoot, you’ll need a selection of specialized equipment before you get started. Of course, a camera and a lens are first on the list. I would suggest using a 50mm lens to be different from the crowd. Many wave photographers like to use fisheye lenses to capture the action at sea, but in the end, those captures all end up looking the same as each other.
You’ll certainly get quicker results with a fisheye lens, but only a few photographs from the captured collection will really stand out from the others. Personally, I think that a 50mm lens allows you to capture additional details compared to a fisheye lens, including the reflections, shadows and shapes of the wave.
In order to shoot ocean wave wall art, you’ll need a form of underwater housing. This is how many of my favorite images have been captured. Take ‘Shake - Cabo San Lucas, Mexico’ as an example, I was able to create a piece of ocean wave art that feels like you’re swimming amongst the waves. Every droplet of water and hue of light was captured in this image with underwater housing.
I have personally found that surf housings are much lighter than dive housings. Plus, surf housings tend to include a pistol grip that allows you to hold the housing with one hand, whilst your camera continues shooting the waves above your head whilst you are underwater. Additionally, surf housings are built to resist heavy impacts from the lip of the wave, which is very practical on a shoot.
I would recommend looking into Aquatech housings, as they are light, functional, and very safe for you to use with your camera. You can order a front port for any lens you’d like to use in the water as well as a flash housing if you’d like to lighten up some photographs with a flash. It should be noted though that speedlight flashes are used instead of underwater strobes, which are more commonly used for this type of photography.
However, Aquatech housings are not just surf housings. They can be used in many other situations from the water’s surface, all the way down to 33 feet under. I managed to capture some underwater wildlife when I visited Kona in Hawaii a few years ago. I found the surf housing to work perfectly for this. View the featured ocean wave art ‘Aquatic - Kona, Hawaii’ here.
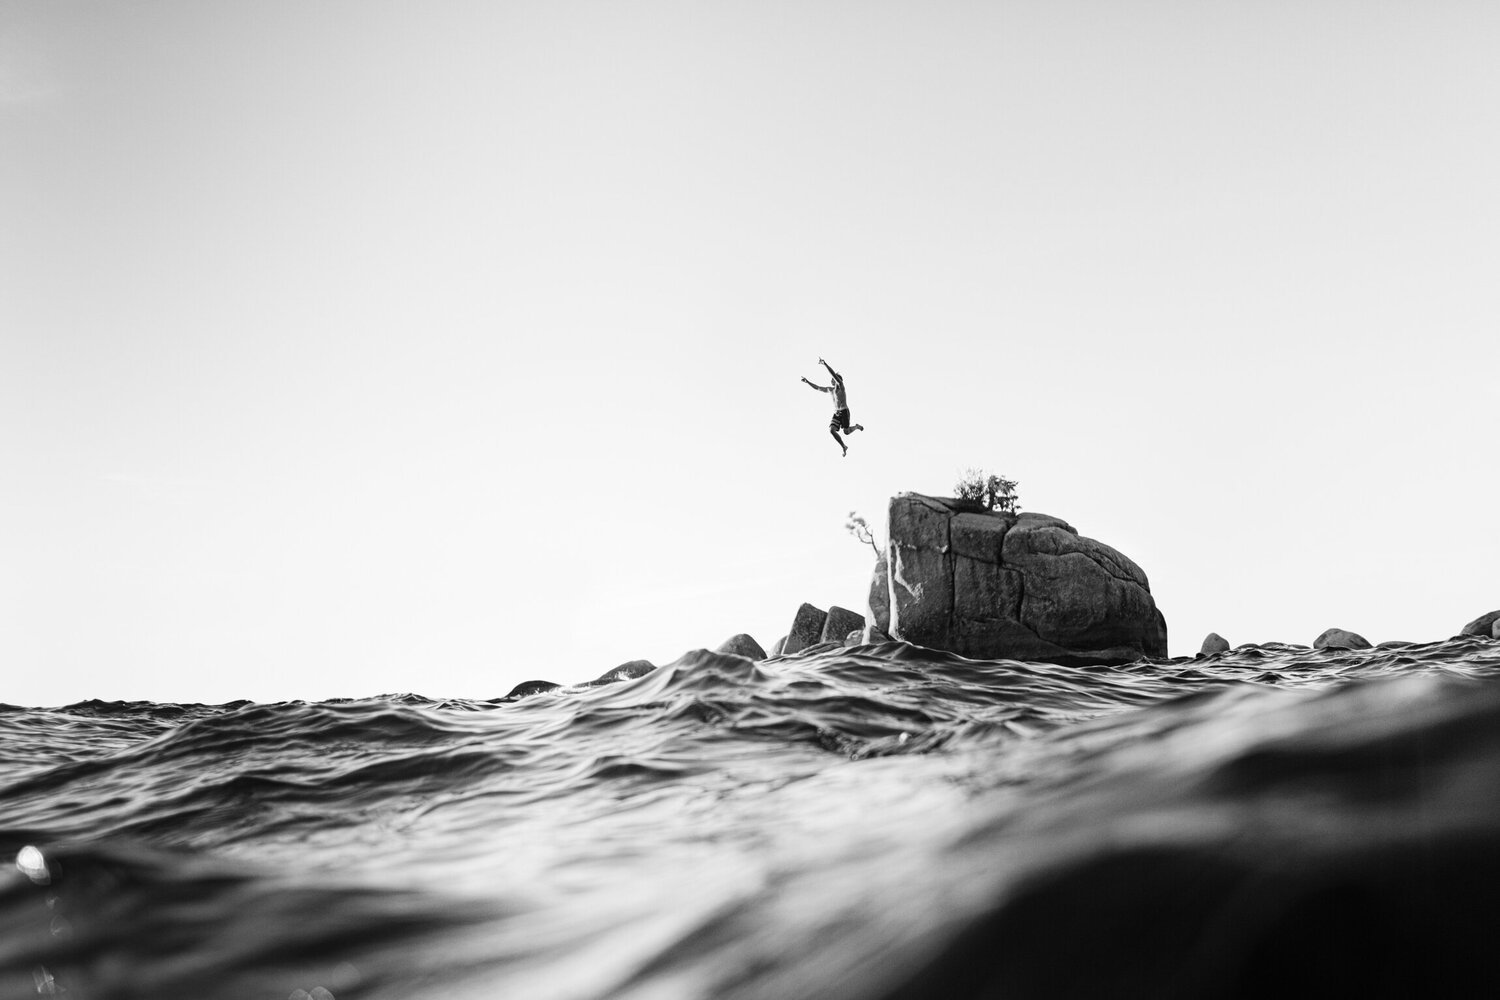
Click here to view the artwork featured above: Bonsai II - Bonsai Rock, Lake Tahoe.
Going back onto the topic of capturing ocean wave wall art, you’ll need to learn how a wave breaks to be able to get into the right position to shoot it. Now, this part is important because there is an element of danger involved if you aren’t quite sure what you’re doing. So, it is for the best that you read up on this thoroughly, or take an experienced wave photographer or diver with you so that you are not caught out and surprised by an unexpected wave.
From personal experience, I have found that it is best to shoot waves early in the morning or late afternoon as the lighting beings to lessen. At these times of day, you’ll witness many more reflections and details on the water’s surface and if you manage to get the right angle, you’ll catch some reflections of the sun on the waves.
After that it’s a question of timing, searching for great waves, waiting for the right conditions and countless hours swimming in the waves with your camera. Capturing ocean wave wall art is always a fascinating and unique experience, leaving me excited to venture out on my next shoot.
So, that concludes my guide to capturing ocean wave wall art. I hope that you have found this article both intriguing and useful from a photography standpoint.
If you are an art curator, looking to expand the collection of ocean wave art in your home, you can view the artworks featured within this article using the links provided.
If you’d like to keep up to date, feel free to visit my Instagram page @lukasgriffin for further examples of my photography work.
PHOTO CREDITS
All photos used within this article are courtesy of Lukas Griffin.
All images are available to purchase as prints, view all collections.